TL;DR
This article outlines the steps to set up an OpenAI account, including creating an account, adding a payment method, setting monthly spending limits and creating an API key for BloggerAI. It also provides screenshots to help understand the process.
How to setup OpenAI
Firstly you need to create an account if you don't have one. It's pretty easy you just need to some simple steps:
Go to OpenAI's website, and click on “Sign Up” in the top right corner. Complete the whole process by using the login method you prefear.
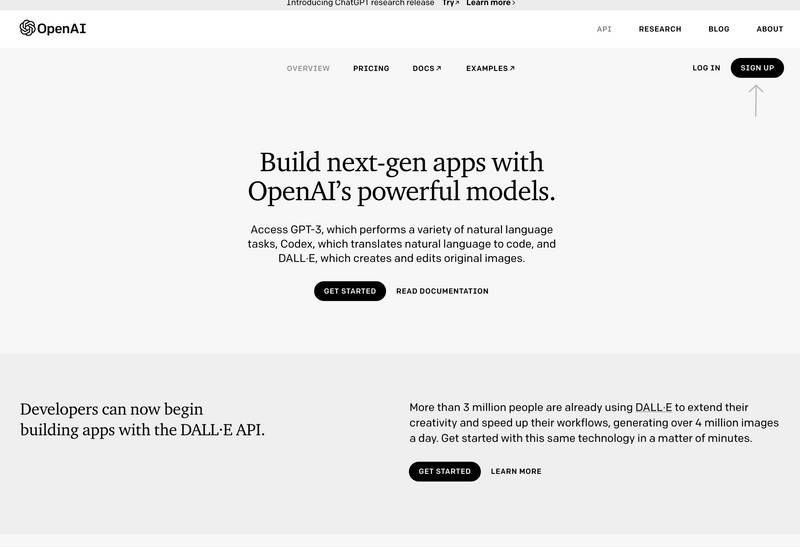
Now you can access your newly created account and go to this page, where you can manage your OpenAI billing.
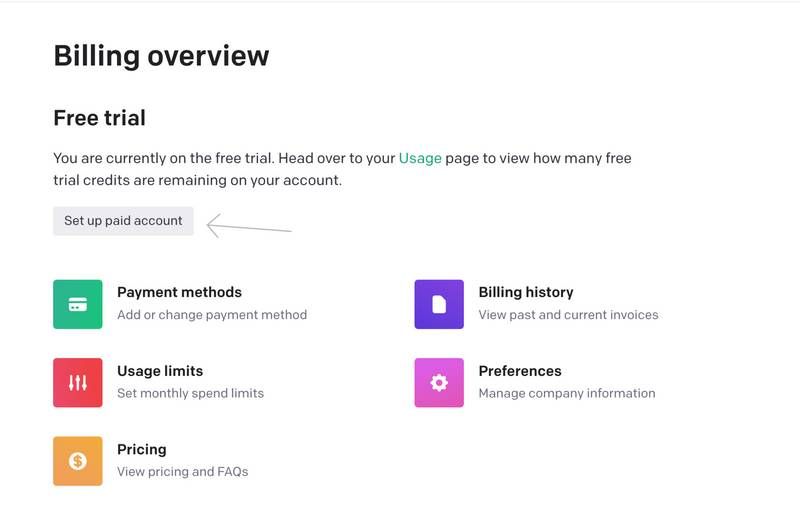
Click "Set Up Paid Account" and add your preferred payment method.
This is essential to have a full OpenAI account, instead of just a free trial. Be aware that OpenAI's free credit should be used up before using your card.
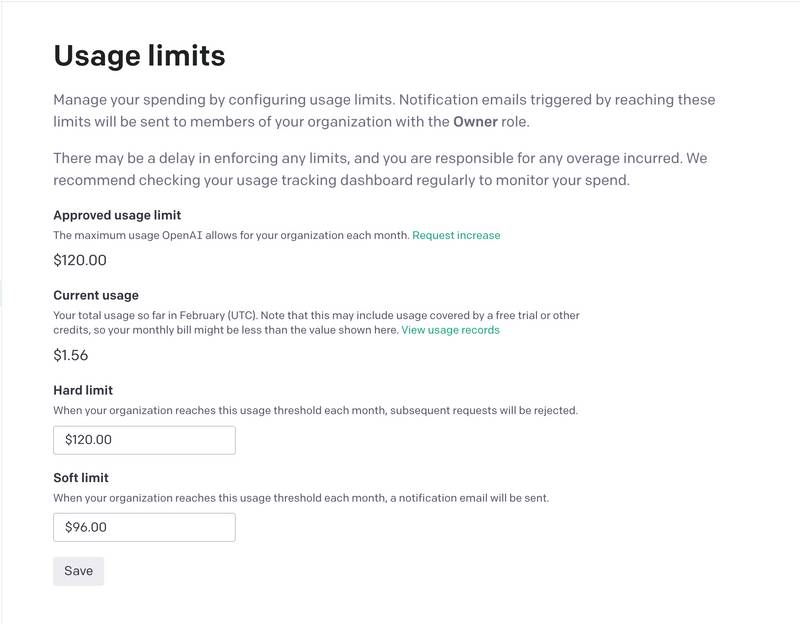
Remember that you can go in this page and also set monthly spending limits, so that OpenAI will stop working once the monthly credit has been used up.
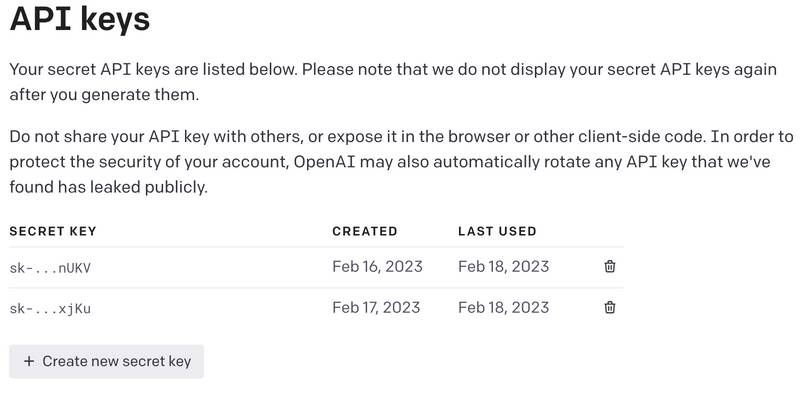
Creating an API key for BloggerAI is the last step in setting up your account.
Go to this page, and then create a new API Key by clicking on "Create New Secret Key", after the creation is complete remember to copy in a note the new API Key
How to add the key on BloggerAI
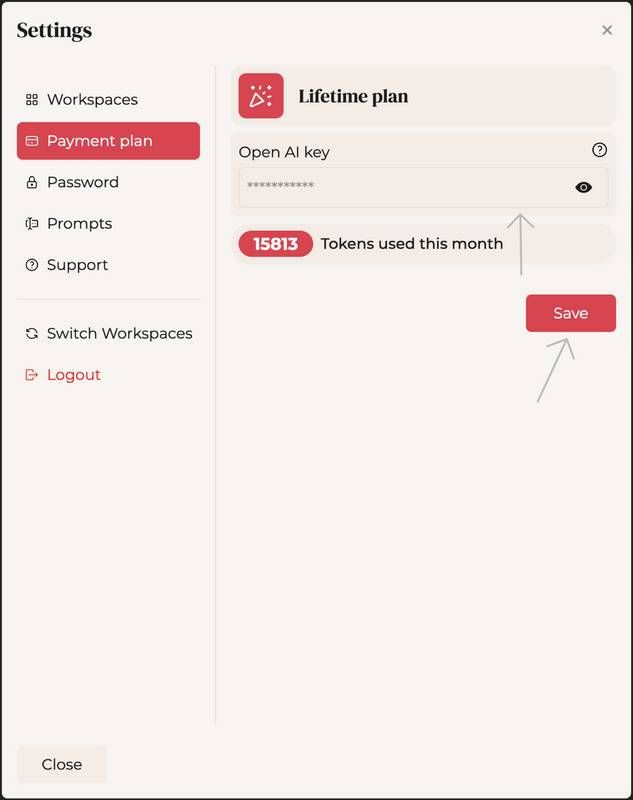
Adding your newly created OpenAI key to your BloggerAI homepage is easy.
Simply open your BloggerAI homepage, click on the top right corner, open settings, click on the payment plan and insert the OpenAI key and save. Now you can enjoy unlimited and unrestricted access to BloggerAI!
Here there are some screens that can help you to understand in a better way the whole process.

